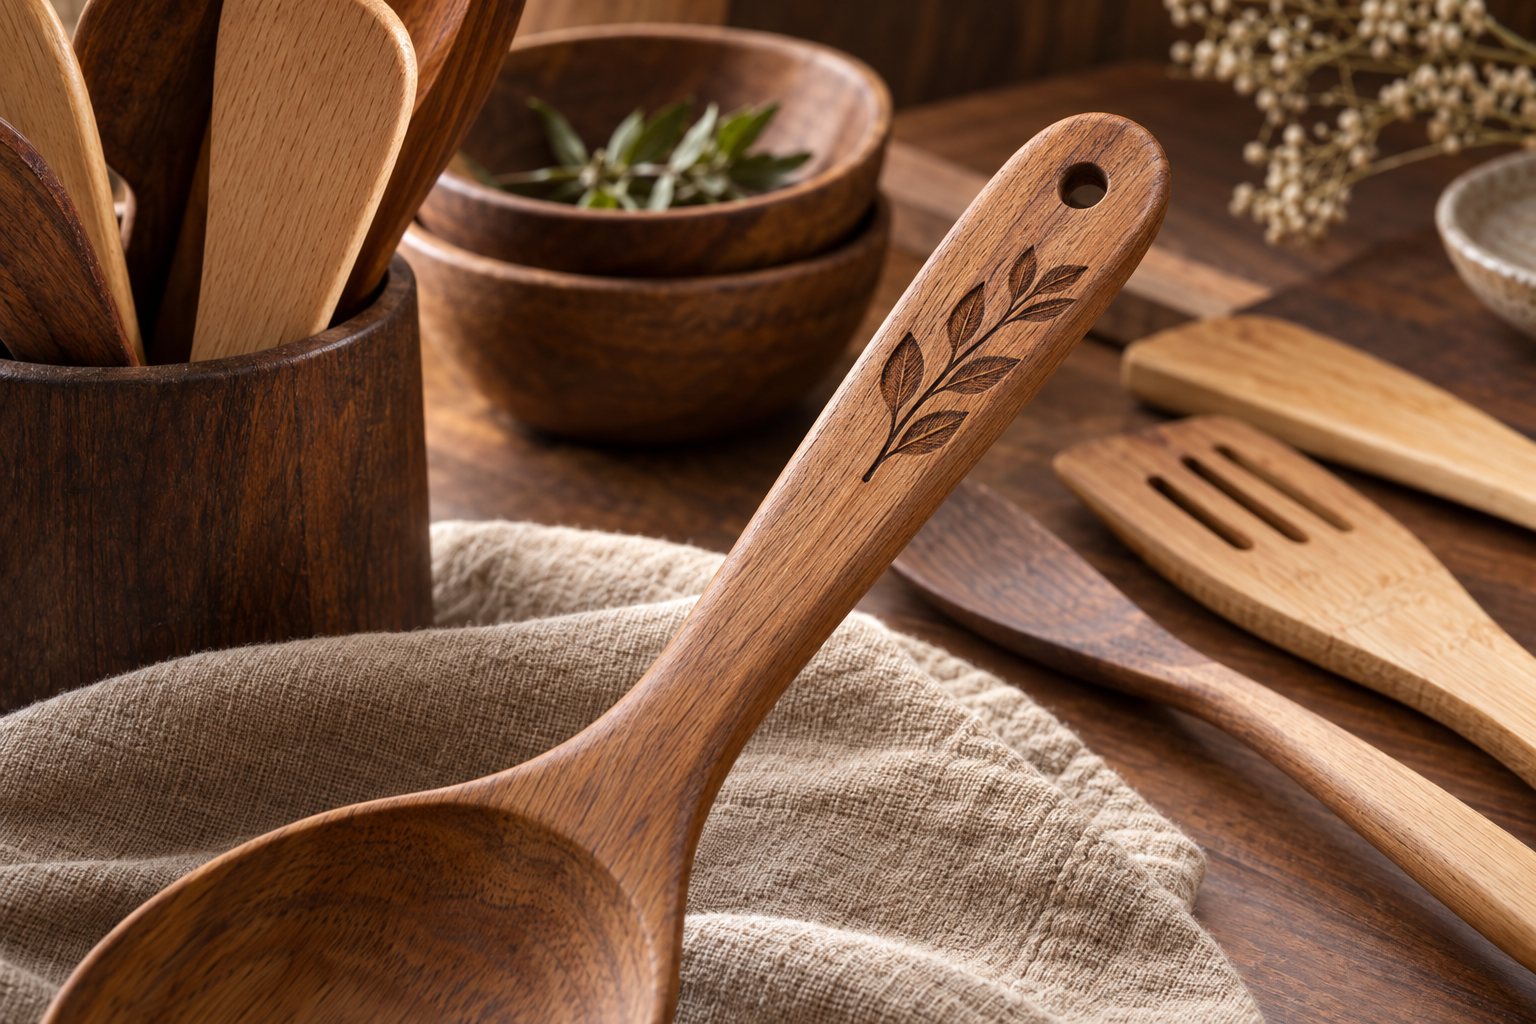
Why engraving suits wood so well
Wood takes a mark differently than any manufactured surface. A laser engraving burns slightly into the grain, so the logo becomes part of the object rather than a layer on it: it will not peel, scratch off in a drawer, or sit as a film on a food-contact tool. The mark reads as warm and natural, which matches the material story buyers are purchasing. That alignment of method and material is why laser engraving is the common branding method across the category, and why it is usually flexible on stock designs, with new artwork setup confirmed per program, a combination that lets even modest first orders carry a real brand identity.
The methods, compared honestly
| Method | How it reads on wood | Typical use |
|---|---|---|
| Laser engraving | Burned mark, durable, natural tone, follows the grain | Logos on handles, gift personalization, set branding |
| Heat branding iron | Deeper, darker stamped mark with a pressed character | Rustic-positioned lines and small marks |
| Silkscreen print | Ink on the surface, crisp at scale | Packaging, sleeves and some non-food-contact surfaces |
| Debossed or printed hang tags | Branding off the tool itself | Retail presentation where the wood stays clean |
| Printed carton marks | Shipping and shelf identification | Distributor programs and back-of-house identification |
Most programs combine two of these: engraving on the tool plus printed or debossed packaging around it. The combination is planned together because each element has its own supplier and its own minimum, and the desk confirms those terms in writing per program.
Artwork: what to send and what comes back
Good engraving starts with good files. Vector artwork, the logo as scalable outlines rather than a compressed photo, gives the workshop clean edges to burn, and solid marks with clear separation engrave more reliably than fine line work or small text. What comes back is the artwork proof: a drawing of the mark, its exact placement and its size on the actual shape, which the buyer approves before production. Engraving depth and size are confirmed on that proof, which is the document that settles every later disagreement, so reviewing it carefully, against a physical sample if the mark is intricate, is the single highest-leverage hour in a branding program. The full workflow is described in the engraving workflow note.
Placement and size decisions
Placement is a usability decision disguised as a design one. On spoons and spatulas, the handle end is the default: the mark stays clear of the working edge, survives holding and washing, and shows in product photography laid flat. On salad server pairs, both handle ends carry the mark so the pair reads branded from either angle in a bowl. Size follows the canvas: a handle is a narrow strip, so marks scale to it rather than filling it, and oversized logos on narrow handles are the most common proof rejection we see. For sets, one consistent position across all pieces matters more than maximum size, because the set is photographed and displayed as a family.
Retail branding versus corporate programs
The same engraving serves two different buyers. A retail brand engraves every unit identically: the mark builds recognition on the shelf and survives unboxing, so the artwork is fixed and the program runs at production scale, usually alongside private label packaging. A corporate gift program engraves per order, often with a client name, a date or a short message, so the artwork changes per project and the desk handles each as its own proof round. Corporate buyers also lean on personalization, one name per handle, which retail programs never do; the corporate gifts page shows how those briefs are structured and packaged individually.
MOQ flexibility on stock designs
Engraving is usually the most flexible element of a wooden program. Because the shapes are stock, the carving setup already exists, and laser artwork setup is quick, programs on stock designs typically start from about 500 pcs per style, confirmed in writing, with engraving applied across the run. New artwork, meaning a mark the workshop has not burned before, adds a setup and proof round whose terms are confirmed per program rather than assumed. Fully custom shapes sit at their own reference, typically 1,000+ pcs per style, independent of the engraving decision. The counting rules and timing references are laid out on the MOQ and lead time page.
Engraving and the unboxing moment
For gift-positioned programs, the engraving is only half the reveal; the other half is the second the box opens. The two are designed together, because a mark placed for flat-lay photography may sit hidden inside packaging, and a mark placed to greet the opener may fight the printed sleeve. We review both layers in one proof pass, tool mark plus box or sleeve artwork, so the reveal sequence works: the brand on the outside, the personal mark on the tool, the care card last. Packaging and unboxing mechanics are collected in the packaging and unboxing note, and hang-tag options that bridge the two layers sit on the private label page. Programs that plan the reveal this way collect fewer mismatched proofs and gift reviews that mention the whole object, not just the logo.
What to send the desk
- Logo files, vector if available, plus any placement preferences.
- Shapes and species, or the program brief if shapes are still open.
- Retail brand mark, gift personalization, or both.
- Quantity per style and the packaging elements you want branded too.
Engraving programs reward buyers who send real files early. Send the artwork with your brief and the desk will return placement options and a proof plan in one written reply.