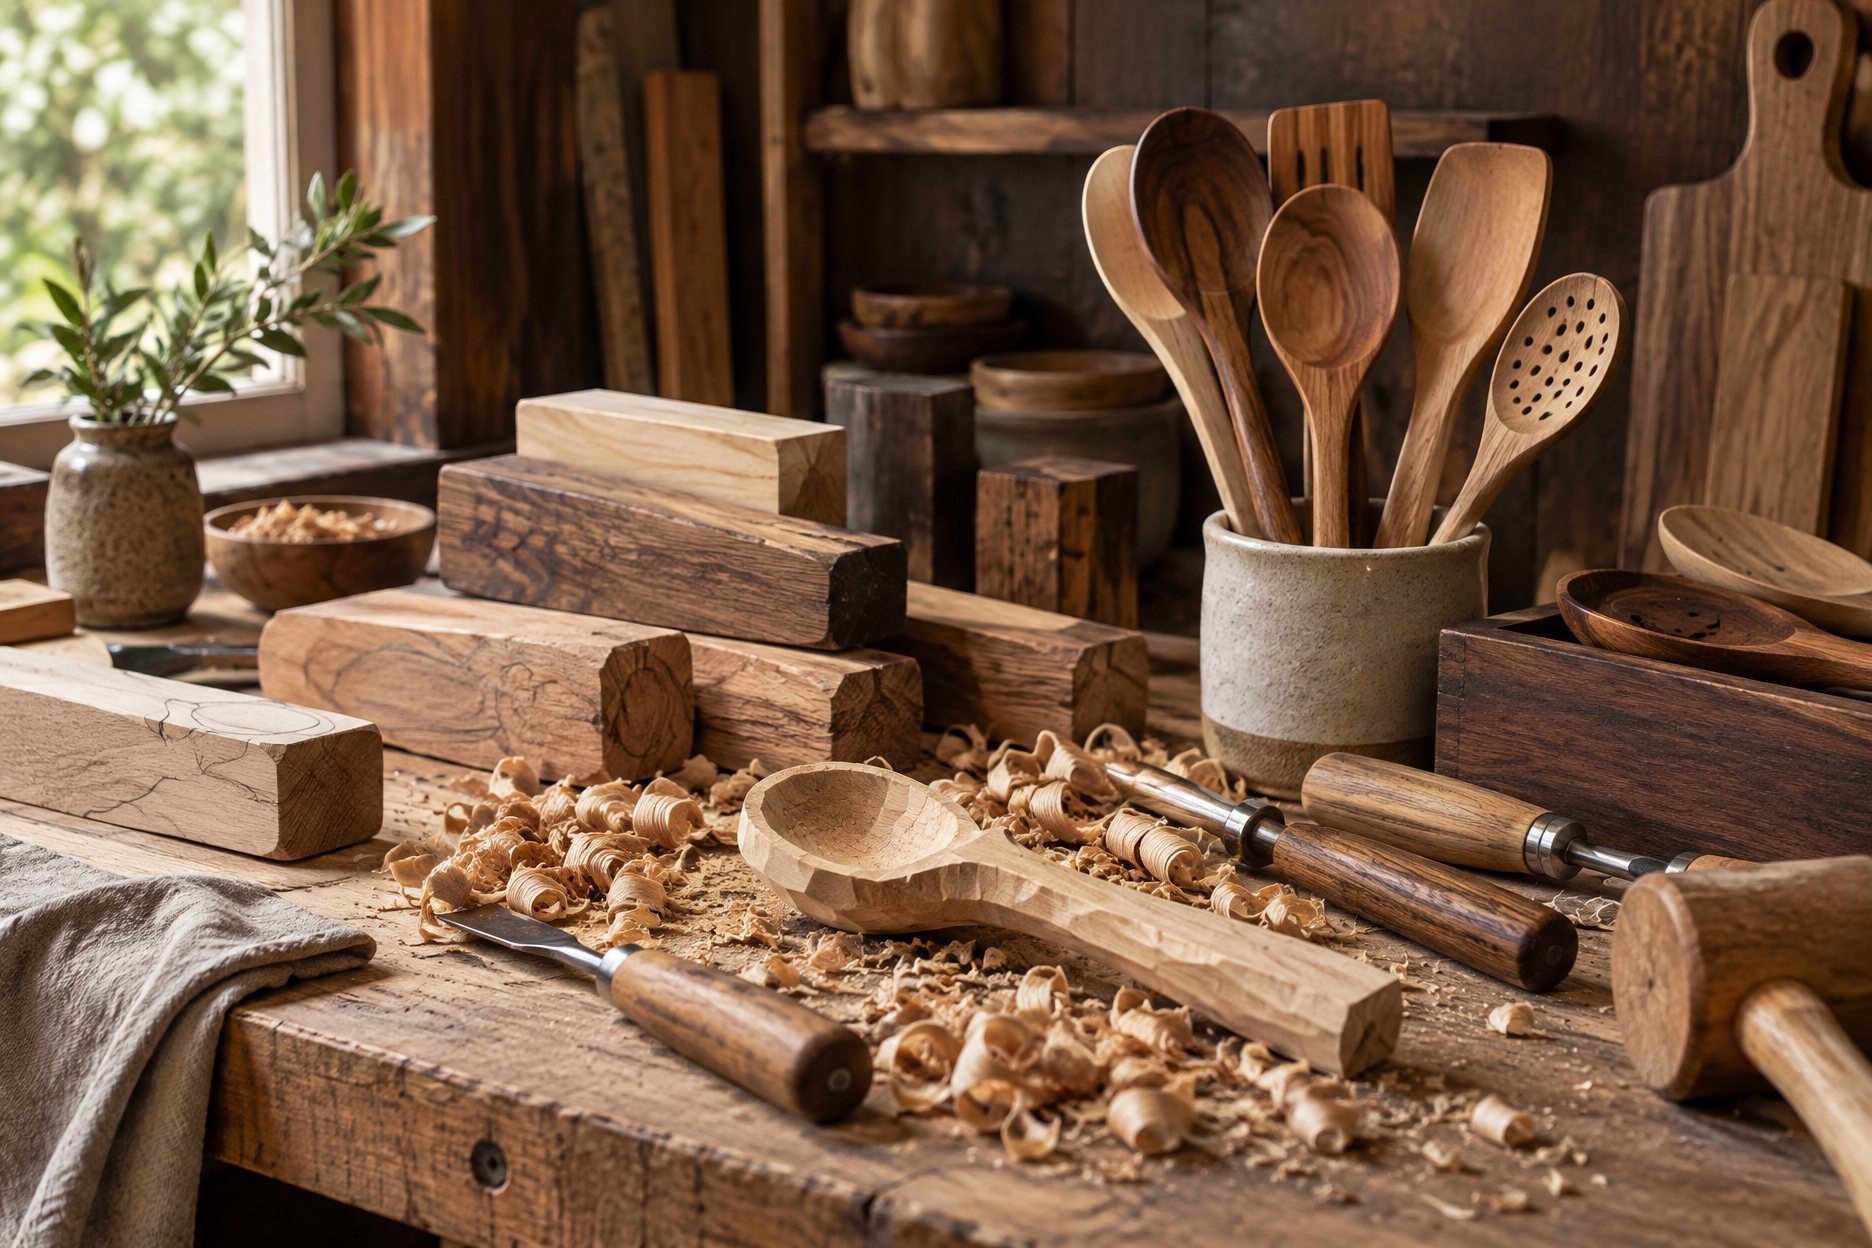
The sequence behind every spoon
A wooden spoon looks simple, and that is exactly why the process matters. There is nowhere to hide a rushed stage: a coarse sanding shows in the hand, a wet blank cracks in a heated container, a thin oil coat reads as a dry patch on camera. Walking through the wooden utensils manufacturing sequence stage by stage gives you the vocabulary to write a spec, judge samples and ask sharper questions of any workshop, including the partner workshops we coordinate.
Stage 1: blank selection
Production starts with the blank, the rough block of solid wood from which each piece is shaped. Blank selection decides more than buyers expect. The species sets density, tone and water behavior, covered species by species in our wood library. Grain orientation matters too: a spoon carved so the grain runs along the handle is far less likely to snap under leverage than one cut across it. Blanks are checked for cracks and knots before work begins, because a defect hidden inside a blank only surfaces after carving and finishing hours have been spent on it. Yield is the quiet economics here: the fewer rejected blanks, the calmer the calendar.
Stage 2: carving and jigs
For flat and curved tools such as spatulas and salad servers, the blank is roughed out with a bandsaw and then shaped by carving against fixed guides. Workshops use carving jigs, fixtures that hold the blank and the cutter in a fixed relationship, so the twentieth spoon matches the first. This is where stock and custom programs divide. A stock shape runs on proven jigs with a known carving sequence; a custom silhouette needs a master pattern carved first, jigs adapted or made, and the sequence tuned until samples come off right. That setup work is why fully custom shapes typically start at a higher MOQ, usually 1,000+ pieces per style against about 500 for stock designs, with both numbers confirmed in writing for your program.
Stage 3: lathe turning for handles
Round handles are turned on a lathe. The blank spins while cutters bring it down to the programmed profile, which produces the smooth taper and the subtle rings that make a handle comfortable to grip. Turning is also where a workshop's discipline shows: a well-set lathe leaves a clean surface that sands quickly, while a chattering tool leaves spiral marks that no amount of sanding fully hides. Handle diameter and length are spec items, not accidents, and both are confirmed on the spec sheet before the batch is turned. Our shape hub lists the common silhouettes and set pieces.
Stage 4: sanding through the grits
Sanding is the stage buyers feel first. Pieces pass through successively finer grits, each one removing the scratches of the last, until the surface feels smooth to a bare hand with no splinters or rough edges. Corners, bowl rims and handle transitions get extra attention because they are where roughness collects and where hands notice it. The final grit is confirmed per spec rather than left to habit. Under-sanded pieces fail our quality checks; over-sanded pieces round off crisp edges and lose the definition a design depends on, so the sequence is a specified middle, not a maximum.
Stage 5: finishing with food-contact oil
Finished pieces are oiled with a food-contact oil, commonly mineral oil, sometimes blended with beeswax or a walnut-oil blend. The oil penetrates the surface, deepens the tone slightly and leaves a smooth, replenishable finish that the end customer can renew at home. Film finishes such as lacquer are generally avoided on cooking surfaces because they can chip into food; the finish system for your program is confirmed in writing. If your line includes pieces sold as non-toxic wooden utensils, the factual basis is the material and finish system itself: solid wood plus a food-contact oil, described accurately on the product page.
Stage 6: engraving
Branding comes after sanding and before or after oiling depending on the look you approve on the proof. Laser engraving is the common method: it burns a durable, natural-looking mark into the surface without inks or pads. Heat branding and silkscreen print are alternatives with different visual results. Engraving depth and size are fixed on the artwork proof, which you approve before bulk starts; the proof round is described on our private label page.
Stage 7: checks and packing
Before packing, pieces pass the category's standard checks: sanding smoothness, moisture content control so pieces are dry enough to travel without moving later, crack and split inspection, oil coverage and, for cartons, drop handling. Only then are sleeves, boxes, care cards and carton marks applied as specified. Packing is not an afterthought: wooden goods abhor sealed plastic while wet, so the packing spec balances protection against the wood's need to breathe in transit.
Stock versus custom, side by side
| Aspect | Stock shapes | Fully custom shapes |
|---|---|---|
| Pattern | Proven master and jigs already in use | New master carved, jigs adapted or made |
| MOQ | Typically from about 500 pcs per style | Typically 1,000+ pcs per style |
| Sample | Stock sample about 3-5 working days | Custom sample about 7-15 working days |
| Bulk | Typically 30-45 days after sample approval | Typically 30-45 days, plus master carving up front |
| Risk profile | Known yield and feel | Tuned through sample rounds |
Every number above is a typical reference range observed across the category and the workshops we coordinate, not a quotation. For each program the figures are confirmed in writing before any deposit is paid, and the full logic behind them is on the MOQ and lead time page.
What to confirm on your spec sheet
- Species and grade, and whether blanks for your shapes are in stock or sourced to order.
- Stock shapes where possible, with any truly custom pieces listed separately, since each carries its own MOQ.
- Handle profile and length for turned pieces.
- Final sanding grit and the touch standard the run will be judged against.
- The finish system by name, and the care card copy that matches it.
- Engraving artwork status and the number of proof rounds included.
With those six lines agreed, the process above turns into a calendar you can plan around. A full walk-through with photos of each stage is in our note on how wooden utensils are made, and the finishing choices are compared in food-safe finishes for wooden utensils. When you are ready to put a program on this sequence, send a brief and the desk will reply with a route, a sampling plan and reference figures in writing.